
Good day reader. Have you ever wanted to do content creation but like me you are self conscious about being on camera or even farther than that you don’t want to put your face on the internet? Well I bring you a simple solution and that’s virtual modeling or v-tubing. In this article I’ll explain a free program where you can make a free model as well as a free program to make it usable on OBS and Streamlabs.
1. Starting Up Vroid
The program in question is called vroid, a free service that can be downloaded from steam or you can visit this link. Once you install it and open it the main will look something like this:
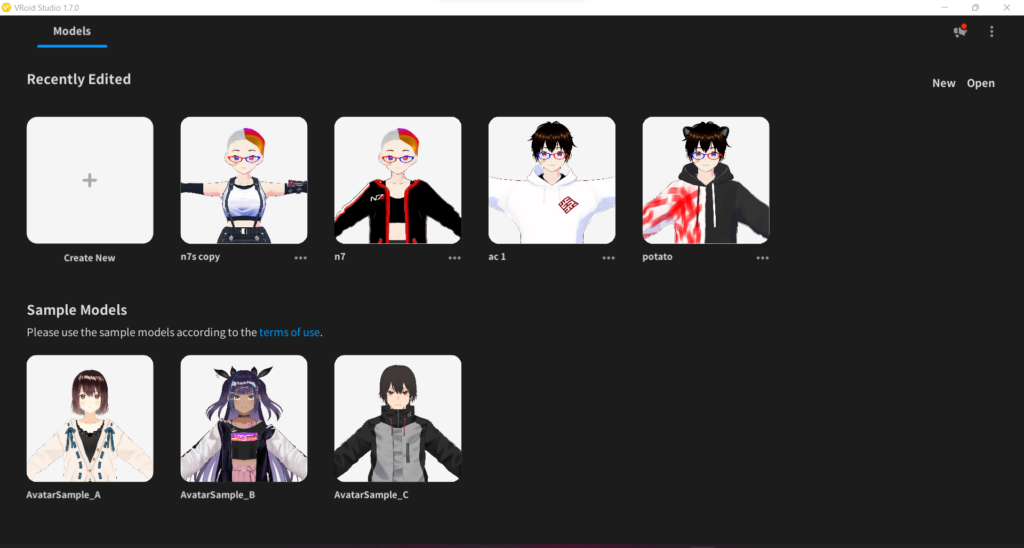
From here you make a new model which will make a new blank slate bringing up many options as shown in the next image:
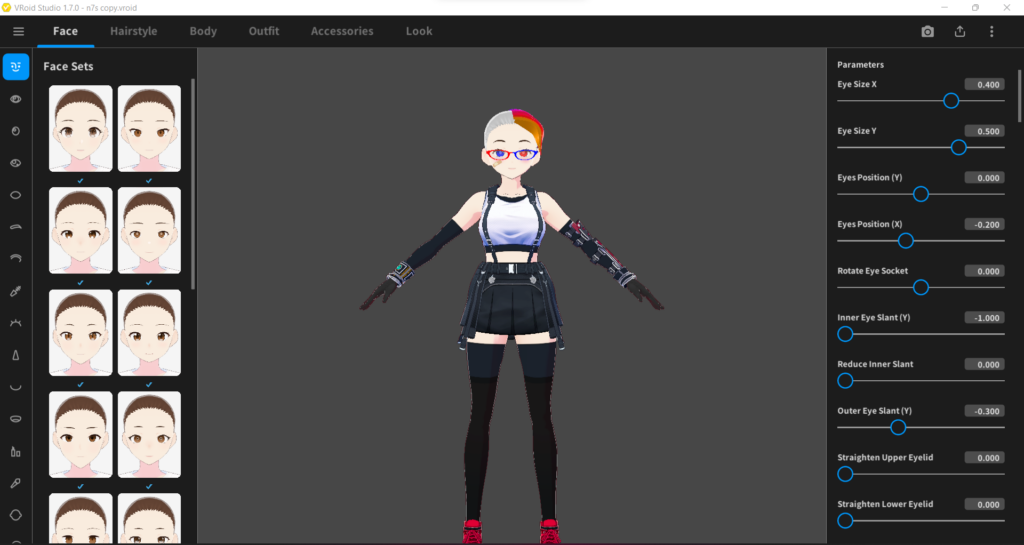
Vroid has a lot of customizability with the models, from clothes to hair and you can make your own hair and clothes designs as well. It’s so customizable that you can pull textures out of vroid to use in things like photoshop or the free alternative blender. Honestly, it’s all so overwhelming and in order to go into everything that would need a second part of this writing so let’s continue.
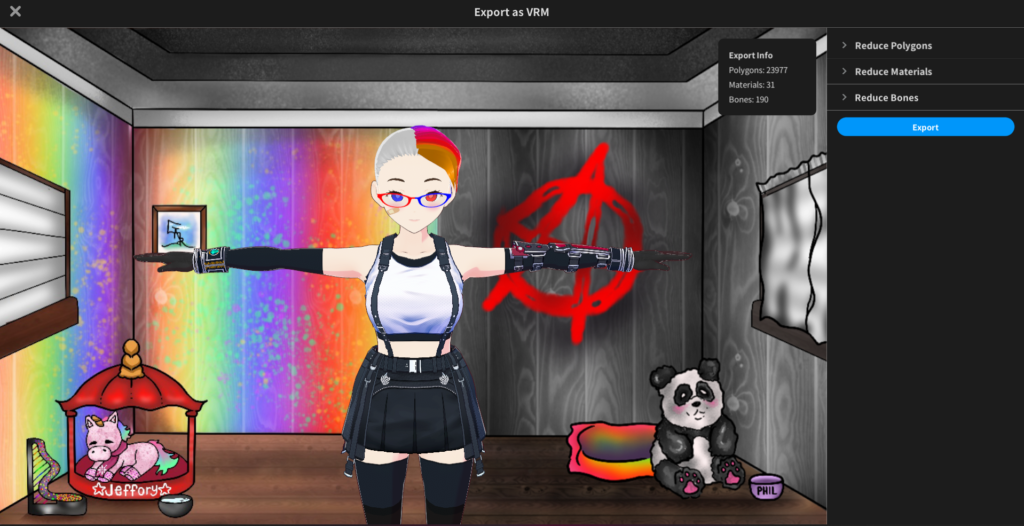
You just got done making the model you want. Whether it be a basic model or something you worked hard on, you wanna bring it to life. What do you do? Well first you want to export your model as a VRM. So what do you do well? You just click the button at the top right and click export as a VRM as shown here:

From here you’ll be taken to a screen that allows you to actually build the in depth polygons and such but these aren’t really that important as we are saving money, and for these to matter you need a leep motion and to pay a lot of money, but we are going for free and usable. On this screen will be a blue button that says export as shown here:
You’ll export this file to where you want, congratulations you now have your model but how do you bring it to life? For that we will use a free program called Vseeface
Vseeface is a free program that updates regularly so keep track of the updates or it will mess up on you in the future. But what do you do once you install this program well i’ll show you.
2. Vseeface
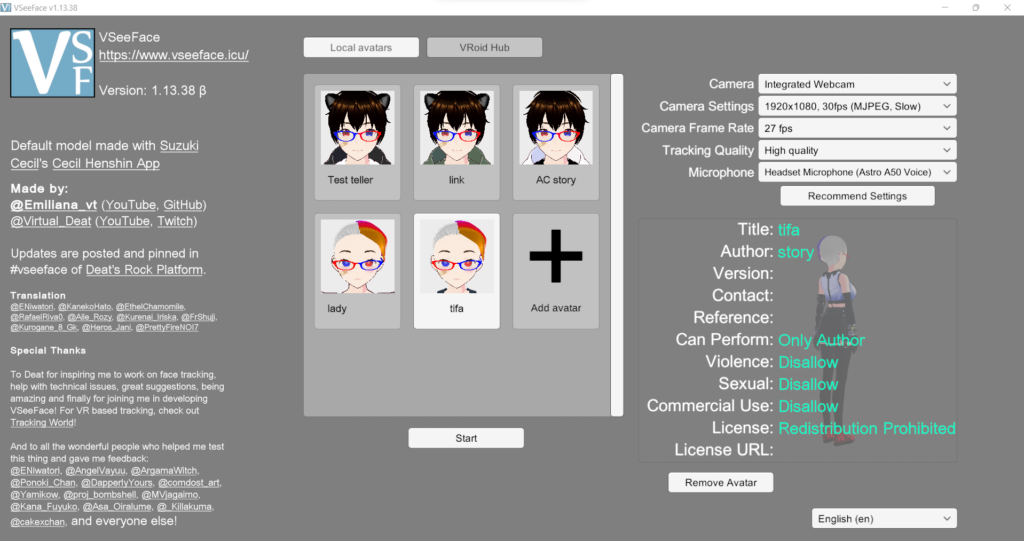
This is the main menu of Vseeface. Your first task should be to click the button that says recommended settings. It will set up the best settings for your pc compatibility with Vseeface. Depending on your pc it may take a few minutes so be patient. After that’s done, set your microphone to the most accurate mic that you have that will hear you clearly as this will help with your mouth movement. At this point click new avatar, add the VRM file you made a few mins ago, and it will add it to the menu. From there you click it, click start, and there you go you should see this screen:
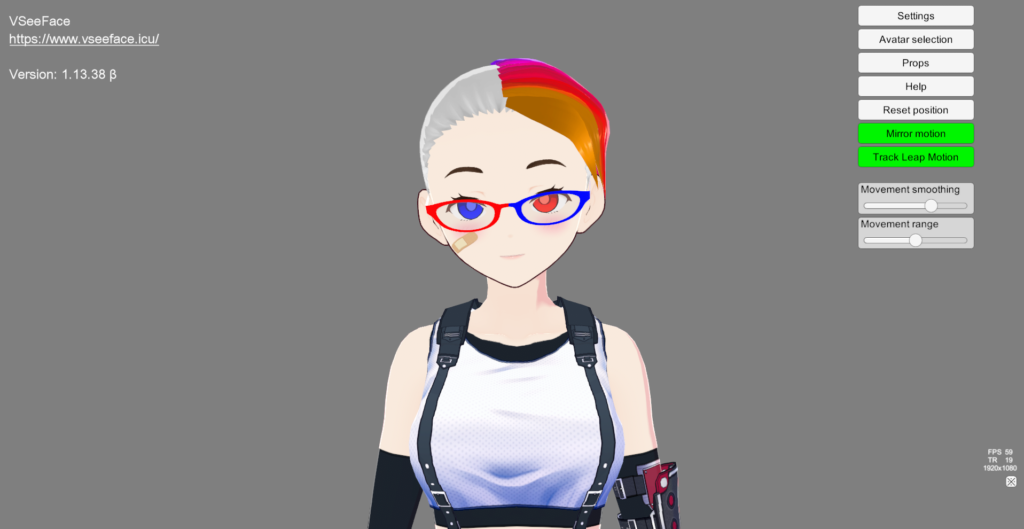
From here it’s pretty easy, sit where you’re facing the camera, click reset position, and it will align the model to your movements from there. As we are going with free and don’t have leap motion you won’t be able to use limbs but it is a big leap in v-tubing starting out. In here you can set up expression options and such which again in itself would need its own part so we will move on to the last part and that’s connecting to obs.
3. Connecting to OBS.
So Vseeface is up with your model. Down in the bottom right is an x if you click that button it will turn the background into a png format. This is important for when we finally put this into your streaming service. You can use both OBS and Streamlabs but for this we will use OBS but please know that it’s the same thing on both services so if you are on Streamlabs still follow along as you have the same options. Go into sources, which will usually be on your bottom left, click the plus sign, and click game capture, name your game capture, and click ok.
At this point a window will pop up looking somewhat like this:

Set up your settings how I have them in the image ensuring you click allow transparency as well. With all that congratulations, you are all set up to do a stream with your new model. Resize the walls of the layer in obs to what you want and place whatever you want under it like games or anything else. Anyway guys with all this you now know the basics to set up yourself to be a vtuber. Hopefully you set up and have an easy time with all of this, but please keep in mind the process can be very frustrating so make sure to keep calm and take breaks other than this have a great day and positive vibes.