
Hi, friend!
This is an article that has been on my mind for quite a while. And I recently had a couple of questions about this exact topic.
First of all, I was in a rush when I started making this, so excuse my superficial explanations and hasty approaches.
I made a video for this, to write this.
But, if you don’t want to watch that horribly boring video – and you still want to add content to this site, we’ve got you covered.
I made a write-up with some pictures as well.
A little disclaimer.
This is not the only way to create posts on this site, but the general way of approach really works. This first tutorial doesn’t cover much of the extended opportunities we have. But that will be adressed later.
To make a post, you have to be logged in. I assume you have that covered.
Next step is to click the button for Add new Post.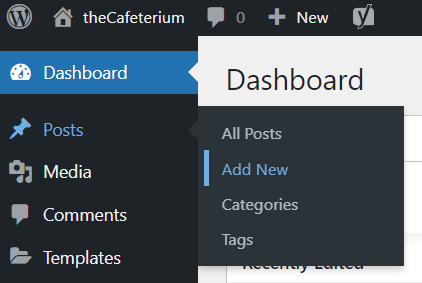
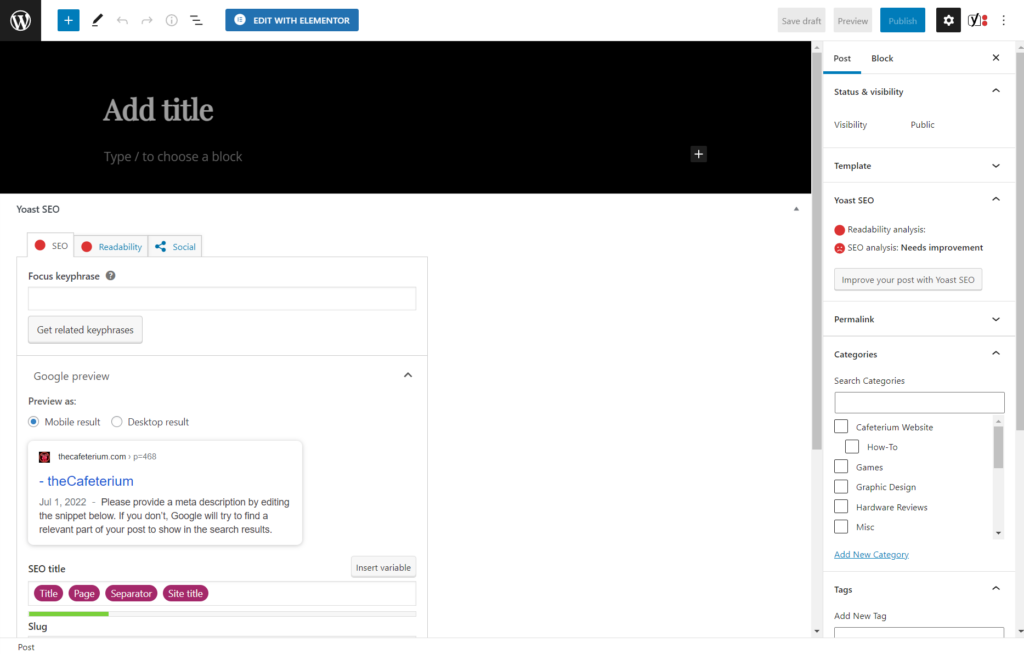
That will take you to this page here:
I’d suggest you click the upwards arrow for the Yoast SEO plugin 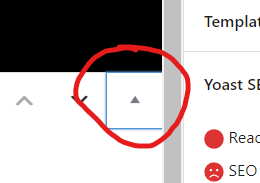 , so that you can see more of your workspace and not so much of the tool that handles the Search Engine Optimization.
Now that that is taken care of, you should have a decently tidy workspace.
You’ll be “greeted” with a black page with grey text. This is due to our site theme.
Where it says Add title – you put the title of the article you’re writing.
The beforementioned block editing is the placement of pictures and text on the article layout page, where we are now.
After every text you type or paste into the article, there will be a + to add a new block. You can think of them as paragraphs in text.
If you press enter after a line of text, it will create a new “empty block” where you can continue editing. An empty block that says only Type / to choose block will not be displayed on the published article.
While you write or edit your article, the website will automatically save your progress.
To insert an image into your article, you can choose quite a few methods to do so. What I explained in the video was the image block.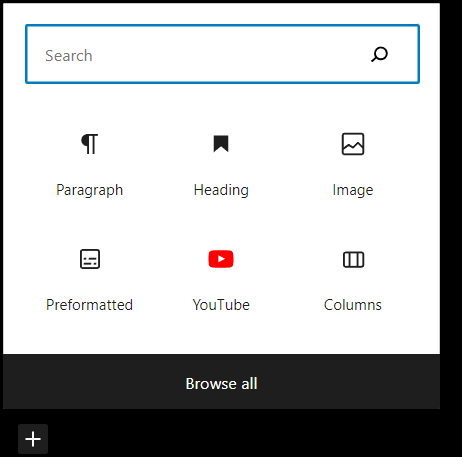 Like this. Click the + and choose
  image.
That will show you this image: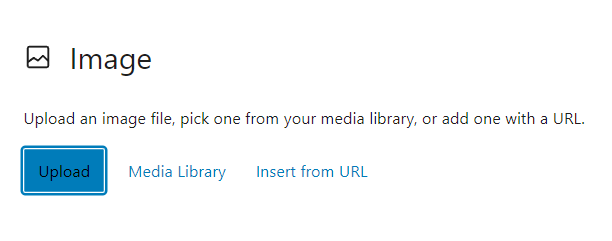
Here you get a choice to select Upload, Media Library and Insert from URL. I feel these are pretty self explanatory, but in short – we have a server side Media library, where your uploads are stored. Your uploads are only visible to you and the administrators. This is just to make is easier for everyone to navigate their article assets.
So the first thing you need to do to make use of these functions are to upload your picture(s) to the media library.
If you use a different picture library – you can insert an image by inserting the URL.
If you choose to upload your picture, click the blue button.
That will take you to the windows explorer, where you can select your file. Once you select the file and press Open – it will upload it to the Article.
There are some preset image size attributes, to make articles seem somewhat uniform.
If you click the Media Library button in the image block, it will take you to your image library.
It will look like this:
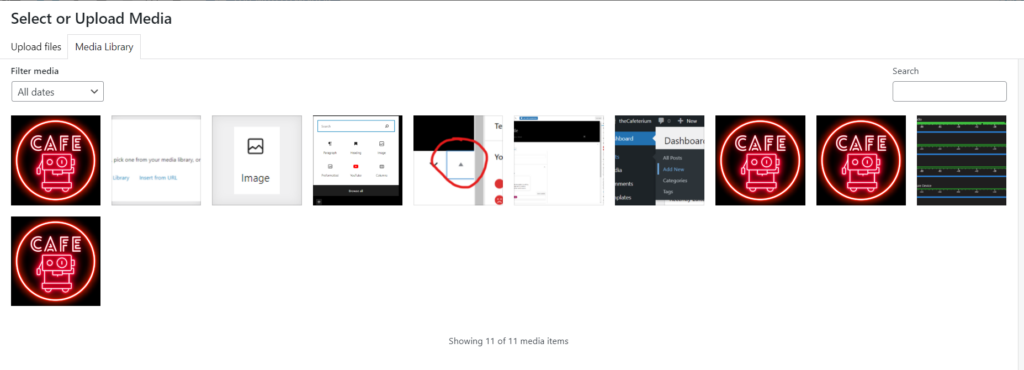
If this is your first upload, there will be nothing to show here. In that case, click in the upper right corner, where it says Upload files.
It will take you to the upload screen:
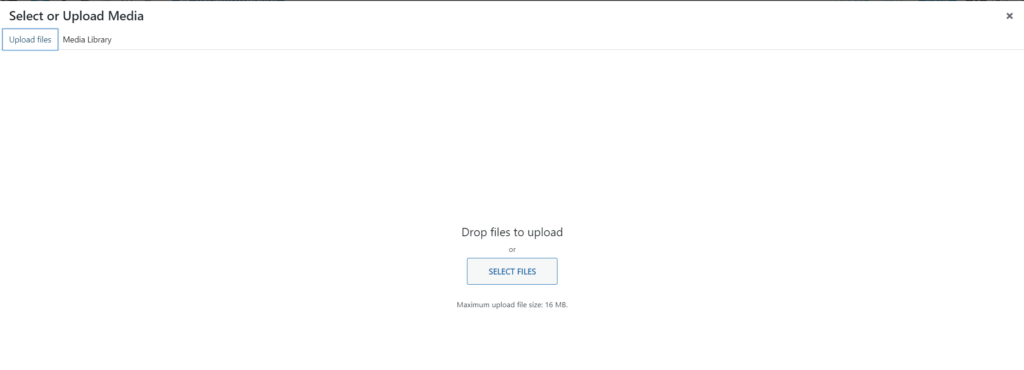
And here, you can see the SELECT FILES text. If you click that, you get the Windows explorer window again, and you can upload multiple files in one go.
*There is a limit of 16MB per file transfer. Which means we can’t upload videos to the site. But pictures will be well within the limits.
When the files are uploaded, you have an option to edit the metadata for the selected image and select it for inserting in the article.
When your article is written, you need to send it to be reviewed.
Since we’re publishing information online as a collective group of people, we need to have someone review the articles to ensure that we don’t accidentally allow hateful or discriminating content.
The way to send it to review is by entering the data required in the right hand menu 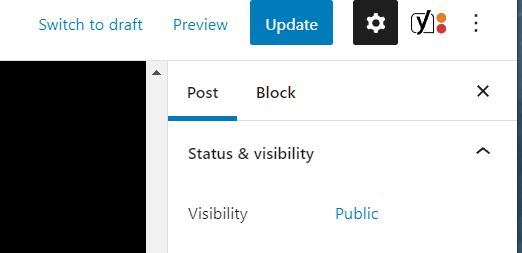
The bits to concentrate on here are the Categories, Tags and possibly the Featured image settings.
If you find these difficult to enter, the editor that reviews your article will fill those out before publishing.